The steel staircase was one of the most complex parts of the house. Not because the design is terribly complex, but because of the fabricator. Most of the tradesmen we used who worked on the house were obvious, hard working craftsmen. To that end, in many cases we tried to not over specify details about how we wanted stuff done. We called it "artist's choice". We let the people who know their trades best make decisions, and predominantly we either got exceptional form-follows-funtion choices, which seems in keeping with the modern theme, or we got finished details way cooler than what we would have thought of. However, there was one exception and that was the person we hired to weld the stair case. Huge disaster both emotionally and financially. Apparently when you tell a professional artist that they can use "artist's choice" that gives them license to dabble and no show for work for days or even weeks. But I digress.
We knew the finished staircase would be steel and I had sort of convinced my Uncle Tom and his Family in Kentucky to build wood treads for it. Tom and his Family are serious woodworkers and Tom always seems to have a line on old growth lumber. Tom agreed to make treads for us and after 1one tree that didn't work out, he happened upon a White Oak tree he thought could make treads.
Here is Tom rough-cutting the wood for the treads on site:


I had originally hoped to use single solid slabs for the treads, but Tom talked me out of it. Even with proper kiln drying, Tom thought they would likely crack. Instead of slabs, Tom decided (see: Artist's Choice) it would be best to assemble the treads from 4 or more pieces each, then glue, plane and finish them.

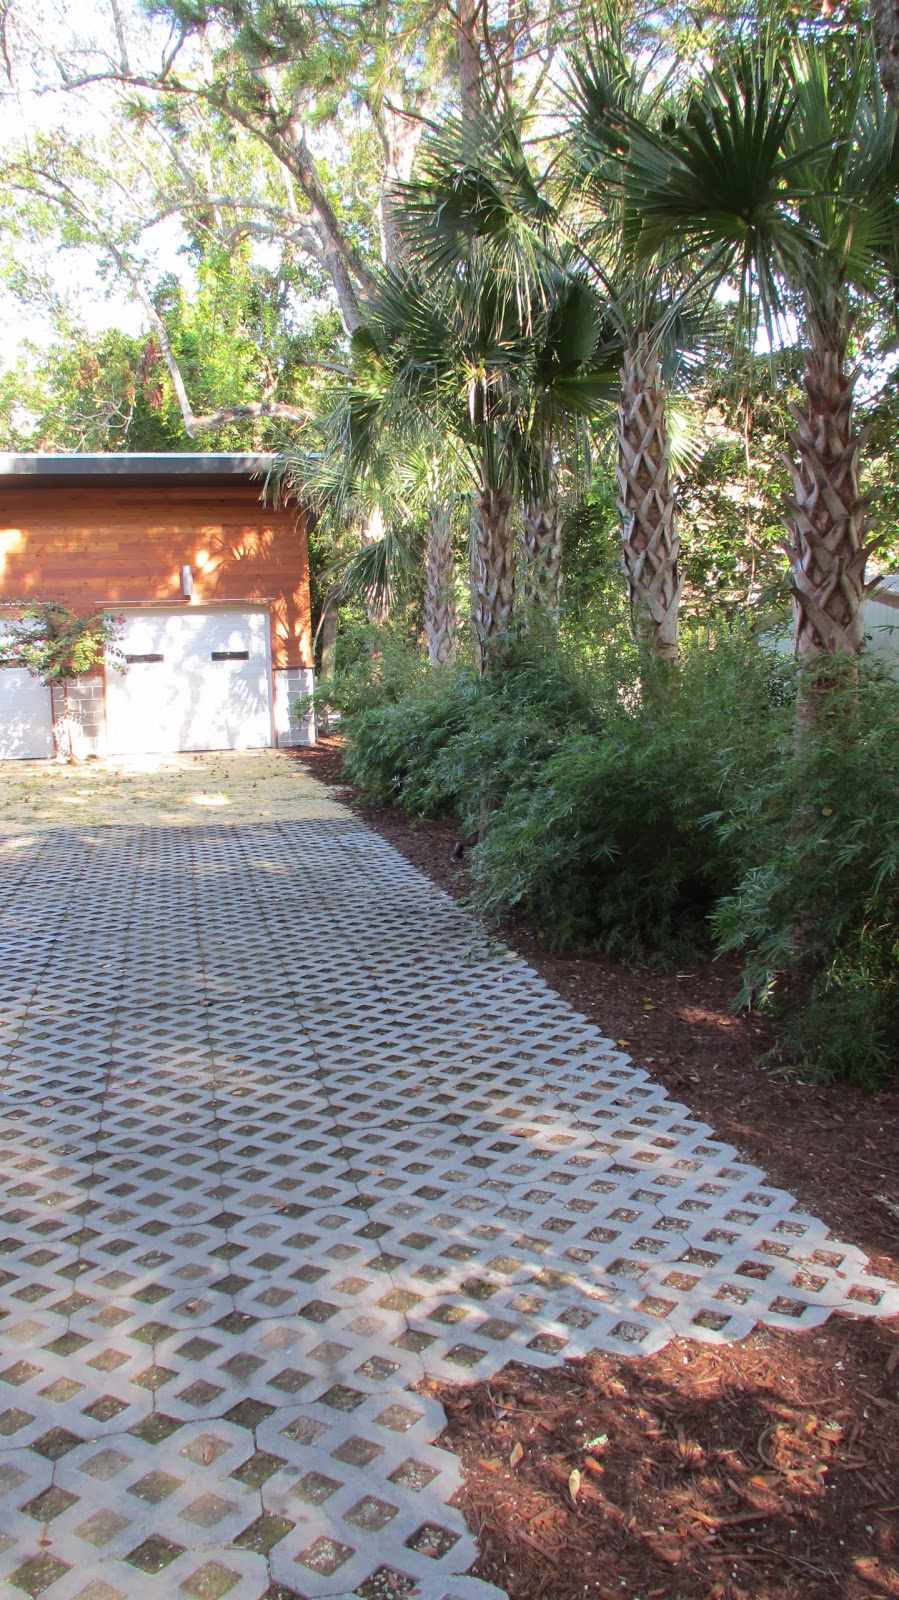
Fast forward a few weeks and eventually the finished treads arrive in Charleston. They were unfinished at that time, Tom left it to me to finish as I saw fit. Here they are laid out in the detached garage...

These are actually the B sides. Tom made sure to use the largest and most flawless pieces of wood for the A sides.


Even the B sides are gorgeous. Really nice grains and character.

So, I set off to finish them. I don't have any experience finishing wood floors so I was slow and cautious. I set the dehumidifier to max and let the wood acclimate for a few days.

I decided that rather than guess with stains or try to match the oak that is on the house floors now, I would just clear coat the treads. The product I chose was the same one the hardwood floor guys used on the house. Bona Traffic. It is actually a 2-part poly, and it cost about $120 per gallon.

I cleaned the treads really well and then put one light coat onto the B side and onto the 4 edges. The first coat went on well, but after about 30 minutes of drying time, it was basically invisible. It completely soaked into the wood and disappeared!! (I think this is actually a good thing). I have subsequently learned that the folks at Bona know this will happen and as much as they want you to spend $120 per gallon on their stuff, they actually sell a product called Bona Seal for about $41 per gallon that you can use for your first coat. Next time, I will try it. I ended up using about 1.5 gallons of Bona Traffic for the treads, hopefully the last half gallon is enough for the landings.
Here is a tread after the second coat (I sanded with 220 grit paper between the first and second coats). I really love the knots and character.


The coating and sanding continued. The B sides and the 4 edges all got 3 coats. First 220 grit paper, then 400 grit between the second and third coat.

I put 4 coats onto the A sides.
After the last coat had cured 48 hours, I polished each tread. I have a lot of experience polishing cars, and finishing the treads was no different. I polished all 6 sides of each of them.

Partial stack of the finished product:

So on to installing them....
Here are a few "before" shots with the temporary treads. Halloween decorations by Rachel!

The steel was left raw with a hand waxed finish. I really like the look of raw steel. But, most, if not just about all of the welds looked poor and sloppy. We decided the paint all of the steel satin black. Next few images show the aluminum square bar removed, in the process of getting ready for paint. (All of this work is happening in between coats of Bona on the new treads!)


I guess if you don't have an engineering degree, you might think this bolt pattern in the steel is a good idea. Definitely not what I would pick.

Treads removed:

As I was doing this work, I used Led Zeppelin's "Coda" album for the soundtrack. Seems fitting in this case.


Once all the treads were removed, I spent a day prepping, masking, and painting. Here is the finished result:


Satin black is an easy sheen to overlook. I always want to use flat paint, but flat never looks as good as it does in my mind when it's done. Plus it shows fingerprints. Semi-gloss is too shiny/bling for me. Satin is half way in between and just right.
So, without further adieu, here are the final treads, fully installed:

This is my favorite view of the staircase. Rachel points out that they look equally good from outside standing on the road, too.

I set the run on each stair to 11". The steel plates appear to be either misallocated or poorly located. I have no idea what the welder was thinking. In hindsight, maybe I should have done detail drawings for him. If he had a specific plan for locating the treads, I could not figure it out. Now, with 11 inch runs, the treads and consistent and very comfortable to walk on.
I shimmed each stair so they are perfectly level. The steel plates, sadly, were not level in most cases.
I shimmed each stair so they are perfectly level. The steel plates, sadly, were not level in most cases.

You will notice the 2 landings are still made from builder's 2x12s. Uncle Tom is still working on those and they will be installed at a later date!!


The treads are gorgeous. Each one is an heirloom-quality piece of furniture. I am sure I have not done them justice here, you need to see them to believe them!! We are forever grateful to Tom and his family for helping us.
Up next: leather wrapped handrails!